I have been currently learning how to use Git using the command line. Git is one of the most popular version control systems (VCS) and if you use any kind of VCS for your development, I am sure you should be familiar with the benefits of using Git.
Along with Git, another useful platform which enhances code-sharing abilities and remote working possibilities is GitHub – a popular Git repository hosting service.
Using Git and GitHub can be an essential skill to learn if you want to write code, work in a group, and contribute to open-source software such as WordPress.
The other part of the equation in this post is using the command line. There are plenty of GUI tools for using Git and although they are continuously improving to accommodate more and more features, you will still need to use the command line to get the full git experience.
While the command line surely looks intimidating for beginners like us, I would seriously recommend putting in the time and effort to learn it as it makes so many things in programming easy.
Also, sometimes command line can be the only possible way to interact with an application.
Steps to Publish on GitHub using Command Line
In this short tutorial, I will show you how to publish your first local project on GitHub using the command line. You can see how easy it can be using the command line, Git, and GitHub.
I assume you have some understanding and deeper interest in learning the command line and Git to follow these steps.
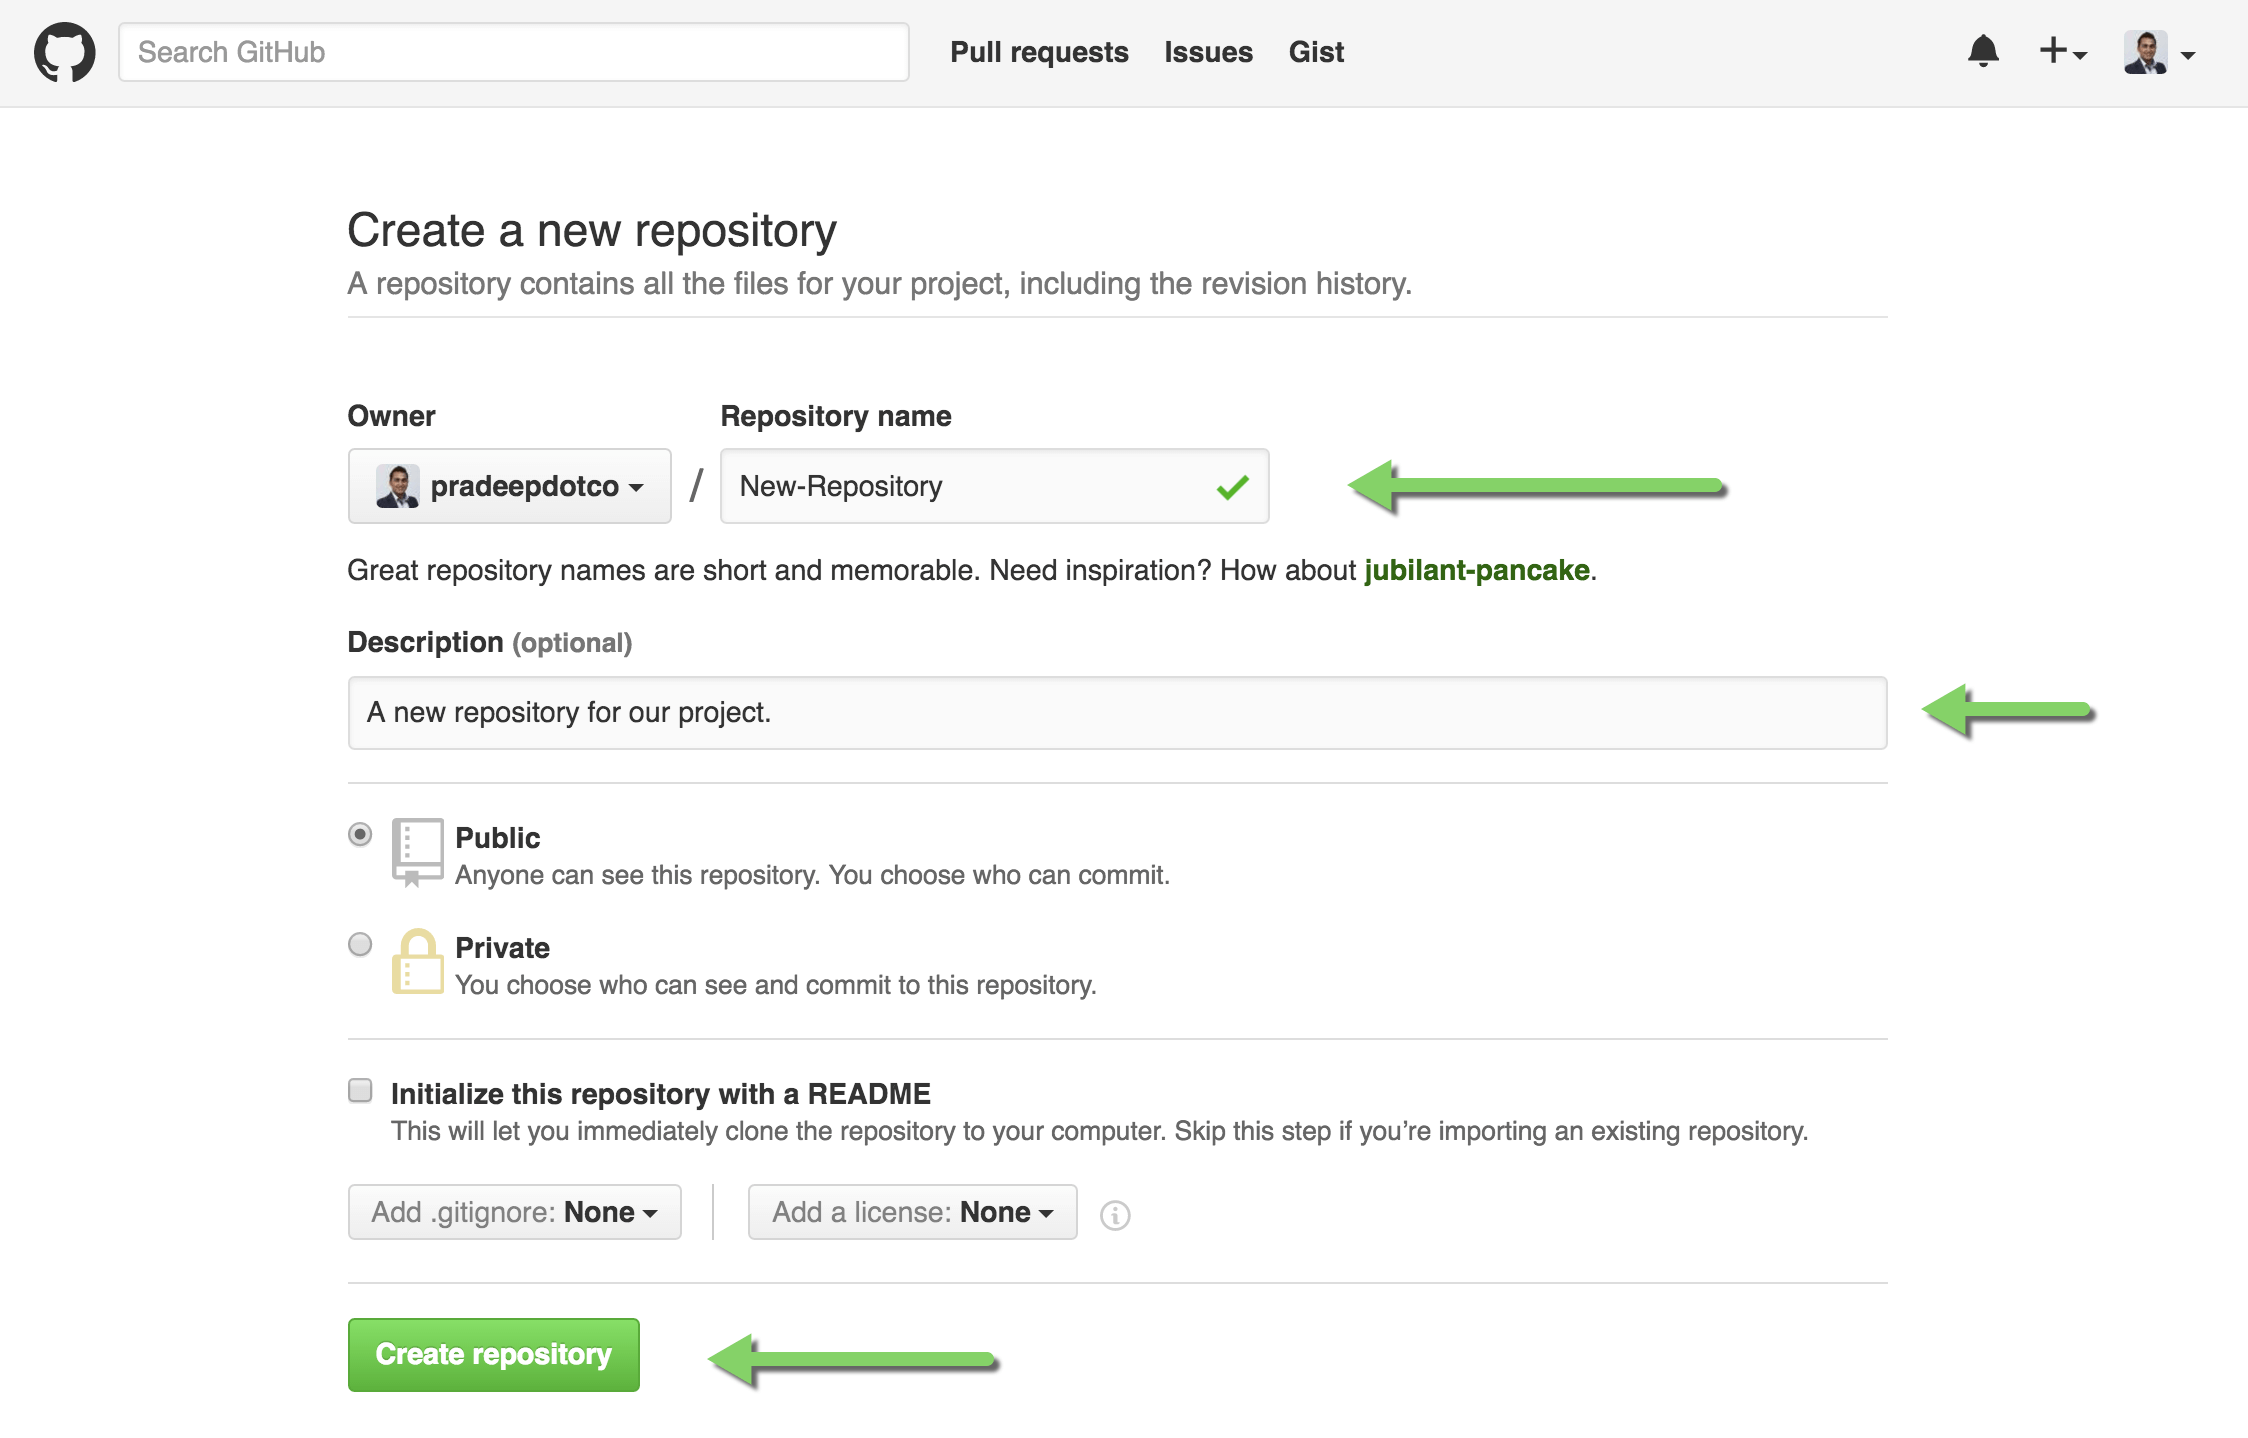
Step 1: You will need to create a new repository on GitHub website.
Select New repository from the menu on your right once you are logged into your GitHub account.

Add the Repository name and description of your project.

Do not initialize the new repository with README, licence, or add any .gitignore files yet. You can add these files later.
Step 2: Now go to the Terminal on your computer. While I prefer using iTerm, the default terminal on Mac works fine.
CMD + Space should bring up the search bar where you can search for Terminal to quickly open it.

Step 3: Use cd to navigate to the local project directory that you want to publish on GitHub.

Step 4: If you haven’t initialised a Git repository in the project directory, use the below command to initialise the local directory as a Git repository.
$ git init
Step 5: Add all the files in the local directory to staging using the command below.
$ git add .
This command stages all the files in the directory, ready for commit.
Step 6: You can now commit the staged files using the command below. Don’t forget to add a good commit message that is explanatory and helpful.
$ git commit -m "First commit Message"
Step 7: Now, copy the remote repository URL provided to you when you published your repository on GitHub.

Step 8: Back in the terminal, add the copied URL for your GitHub repository as a remote repository using the code below. (Replace the GitHub-repository-URL with the GitHub repository URL you copied in the step above)
$ git remote add origin GitHub-repository-URL
This command adds our GitHub repository as a remote that you can then push your local repository changes.
Step 9: Finally, use the below command in your terminal to push the local repository to GitHub.
git push origin master
This command says to push your commits to the remote repository we added earlier called “origin” in its branch named master.
If you use -u in the command, it will remember your preferences for remote and branch and you can simply use the command git push next time.
git push -u origin master
Alternatively, you can directly find the complete command of steps 8 and 9 listed on the GitHub page after you have created the repository.

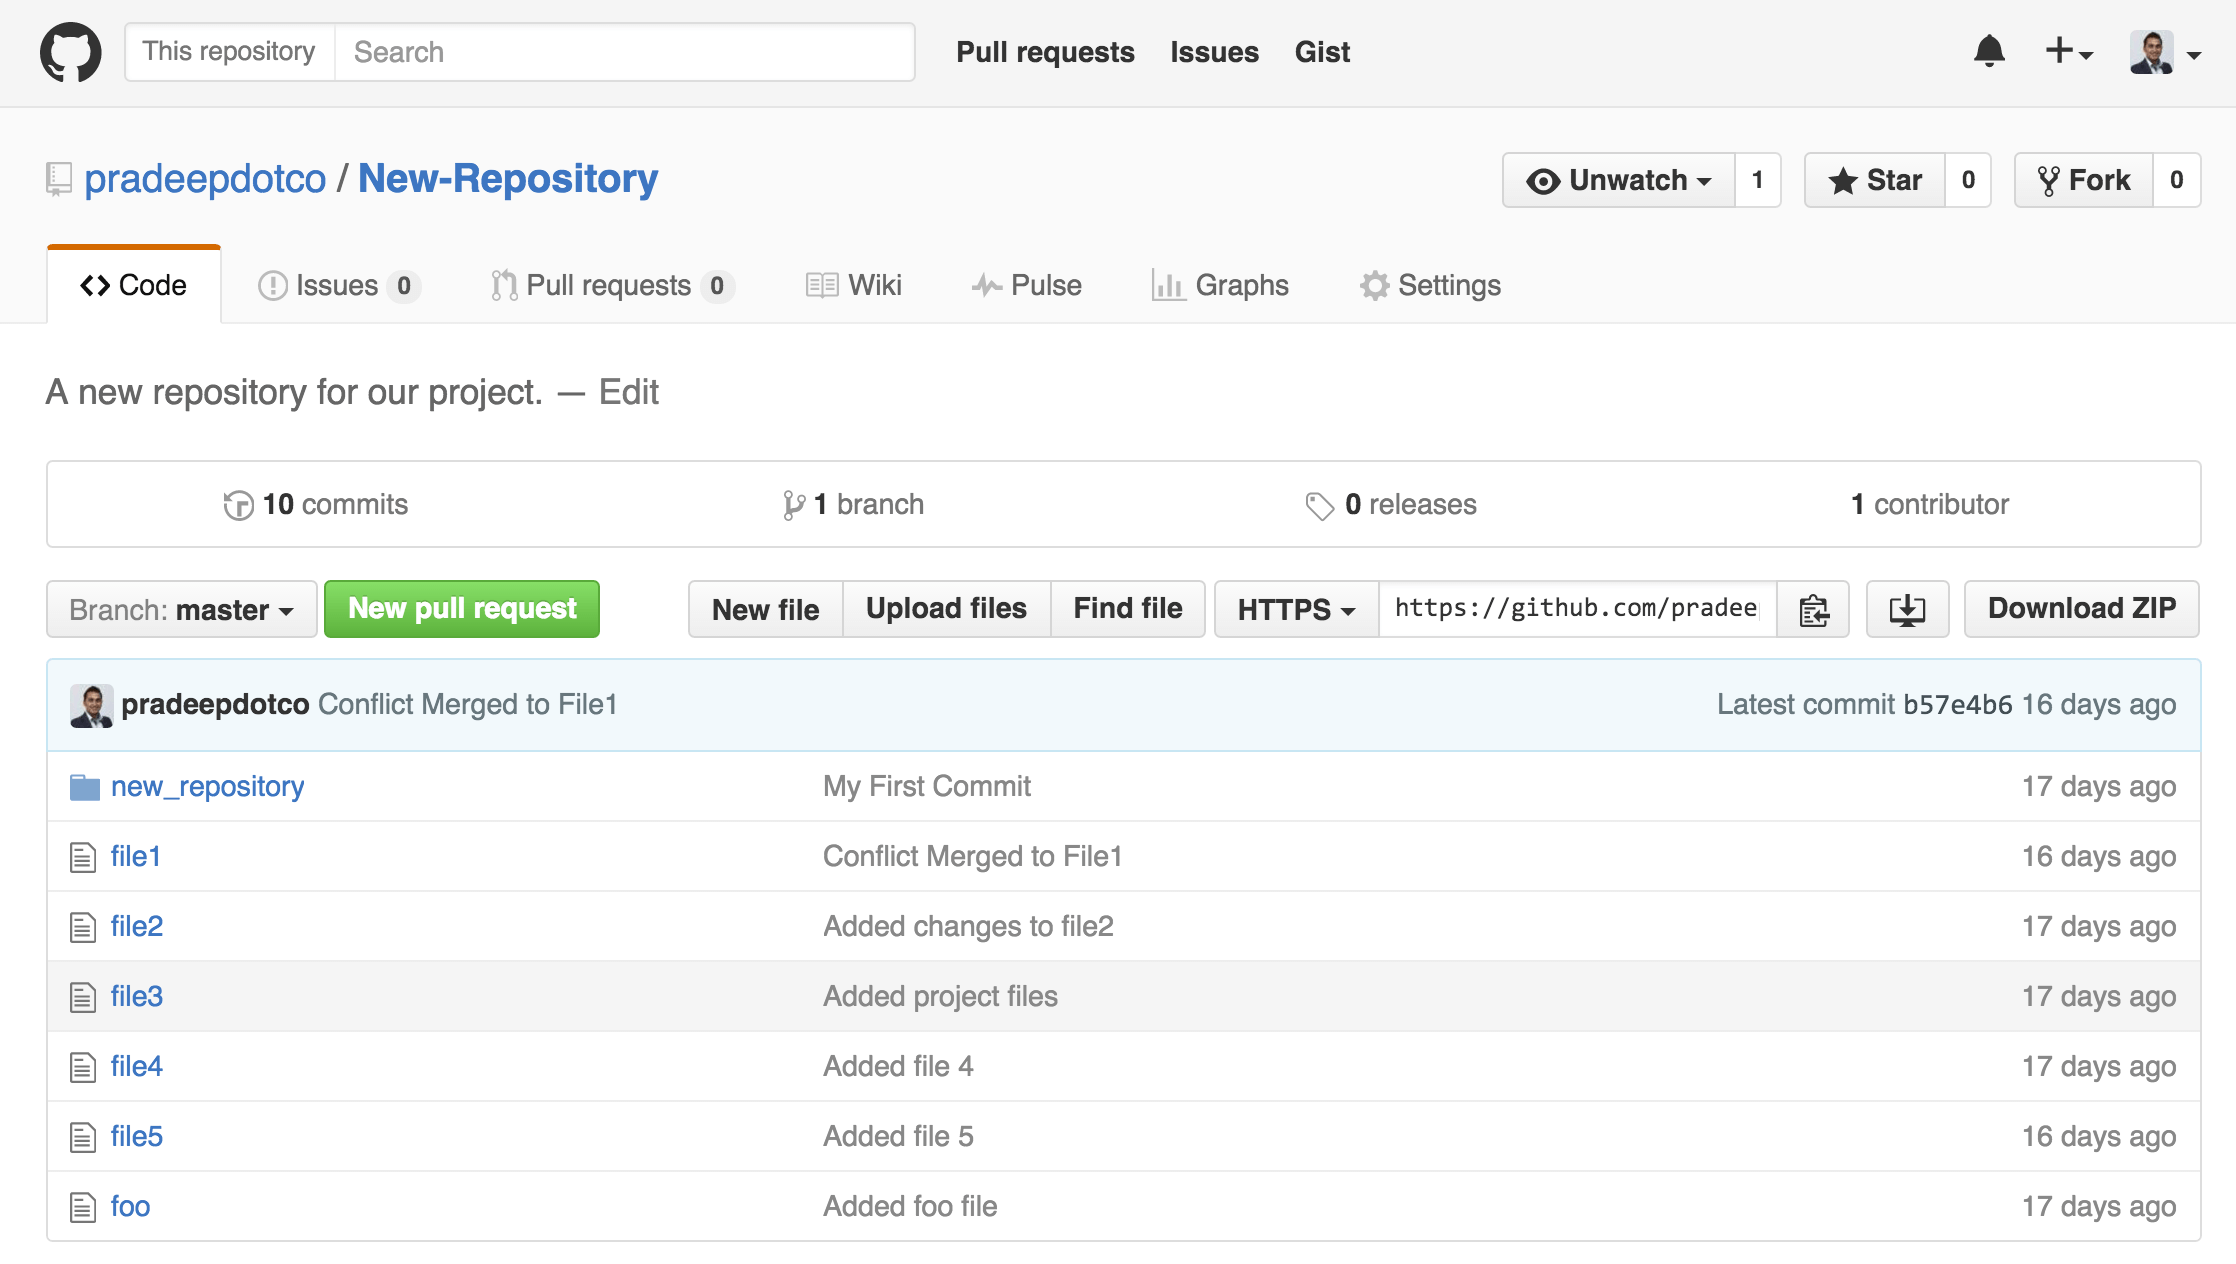
You can now see all the changes to your local repository published on the GitHub repository!

I hope the tutorial was useful to learn basic Git commands and in publishing your first local project on GitHub.
Learning Git Basics
Watch the video below if you are not familiar with basic Git commands.
You can learn more about Git by going through this free ebook from the official Git website.
If your WordPress host supports git, check to see if it helps in your development process. One of the hosting providers, Pantheon, for example, makes it easy to visualise and understand version control by integrating the git process within its dashboard. Check out their guide here.
Also, check out this interactive tryGit exercise from CodeSchool that walks you through the basic steps of learning Git and pushing to remote repositories like GitHub within 15 minutes. You can also use the exercise to refresh your learning of Git.
Let me know if you have any questions or suggestions about Git and GitHub in the comments below.

Thanks, I have wasted about two hours searching for –> how to create repository from command line, and it seems that it can be only done on github webiste. Some even provided a command create but there is no such command in a reference of github project.
Regards
This was so helpful. Thank you!
Nice explanation. Thanks Pradeep!
Too good.
Well described steps.
Thanks!
very helpful … i published my first project thank you so much
Very helpful. Thanks Pradeep!!
Thanks! This was very useful!
Your content helped me a lot, Pradeep. Your blog is fantastic! Greetings from Brazil.